
“Hello World”
Getting started with the Newo.ai language is very simple but can be overwhelming if you’re unfamiliar with the basics. Every coder writes a “Hello World” program for their first exercise, which helps highlight some basic functionality of a coding environment. This is no exception with the Newo.ai platform. We can break down several Newo.ai actions and get you familiar with the platform using this basic example.
Goal: Have the Agent send “Hello World” in the Sandbox chat panel after triggering an event. No LLM involvement.
Create an Agent
- Navigate to the Agents page, click the three dots icon at the top-right, and click Create Agent.
- Add an
Idn, a unique identifier for your new Agent. - Add a
Titleand aDescriptionto describe the Agent within the platform. The fields are optional but will help when creating many Agents for different purposes later.

- Click the + icon by the
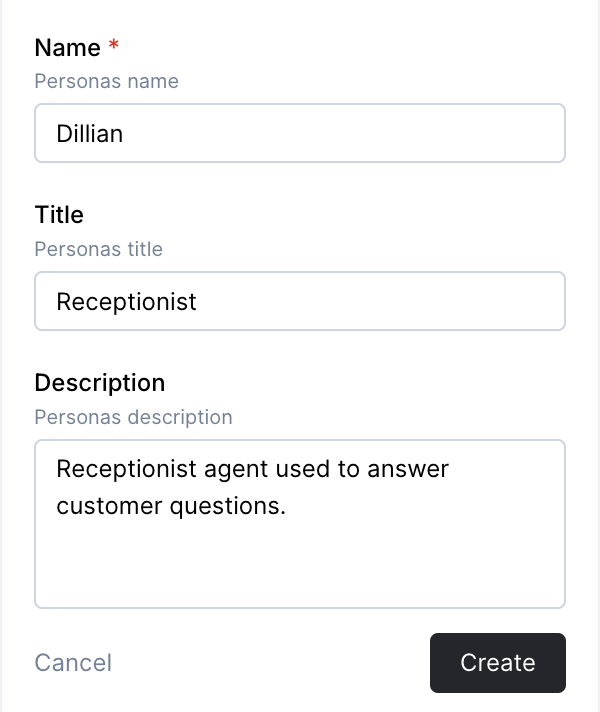
Personafield. - Add a
Name,Title, andDescription. This is the persona the Agent will assume. For example, the Agent's name could be Dillian, and the title could be Receptionist. Later, you will see that your Agent Persona can have context and instructions stored in the AKB. - Click Create.
- Click Update to save the Agent. If you need to change the Agent details, click the pencil icon.
Create a Sandbox Connector
In order for the Newo.ai platform to connect to a Sandbox chat, integrations are needed with a connector.
- To create a new Sandbox connector, navigate to the Integrations page from the left-side panel.
- Click the plus icon on the
Sandbox Integrationitem. - Add a
TitleandIdn. In this case, just usehello_connectorfor both for simplicity.
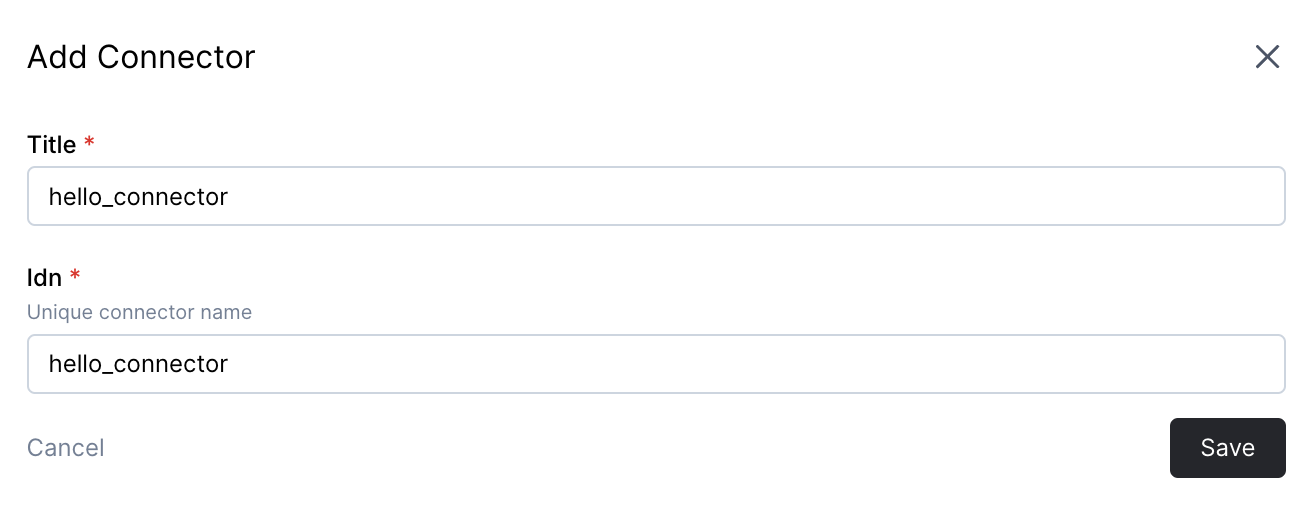
- Click Save.
Enable the Sandbox Connector
Once a connector is created, it should automatically start running. If not, and you see the status as Stopped, you will need to enable it.
- Click the three dots icon on the right of the created connector.
- Click Run. The status will change to
Running.
Create a Flow
- Navigate to the Agents page.
- Click the plus icon next to the newly created Agent.
- Add a
Flow Idn. For example,ReceptionistFlow. Ensure there are no spaces. - Add a
Flow Title, which is used to describe the Flow within the platform. In most cases, add the same name as theFlow Idn.
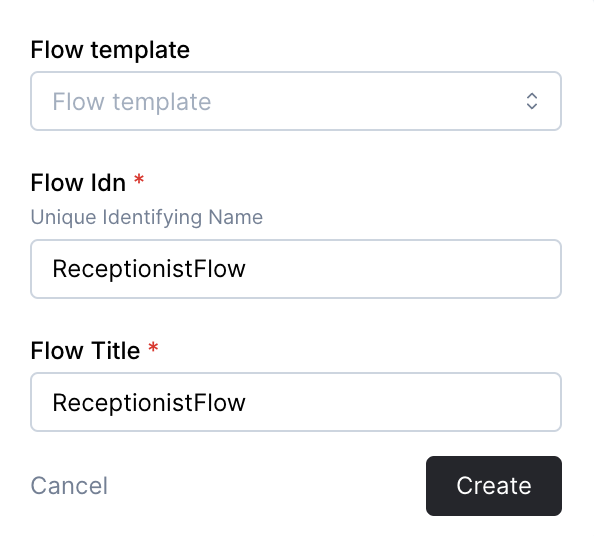
- Click Create to save the Flow.
- Click the newly created Flow. This will open up the Flow Builder where we will code the Agent's behavior.
Create a Skill
- Click the plus icon next to the Skills section on the left-side panel.
- Add a
Skill Idn. Ensure there are no spaces. - Add a
Skill title. This is merely used as a description of the Skill (optional).
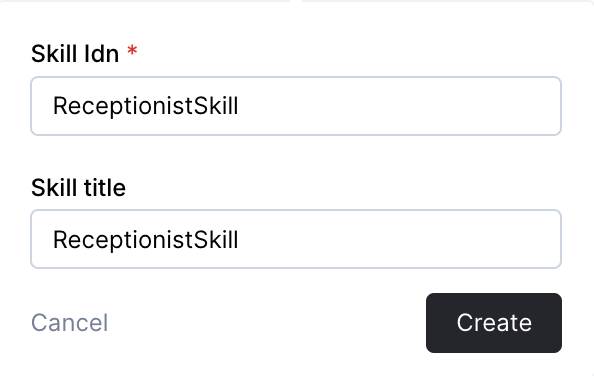
- Click Create to save the Skill.
Note that Skill Settings appears on the right. This displays the Skills Title, Idn, Model, Result action, and Result variable name.
Add Code to the Skill Script
The SendMessage action is used to send plain text to the Sandbox chat. Copy the following code into the Skill Script section (i.e., the middle section of the interface):
{{SendMessage(message="Hello World")}}Create an Event (Sandbox Integration)
In order for the newly created Skill to be activated, the Skill needs to be subscribed to an Event. This is because the Agent needs to know when or what Event needs to happen to send the message "Hello World." In this case, the Event trigger will be a message sent in the Sandbox chat.
- Click the plus icon next to the Event Subscription section on the left-side panel.
- Under
Event Idn, selectuser_messagefrom the dropdown. - Under
Integration, selectsandboxfrom the dropdown. - Under
Connector, selecthello_connectorfrom the dropdown. - Under
Skill selector, selectskill_idnfrom the dropdown. You are telling your Flow that when a user sends a message from the Sandbox chat, select a specific Skill to activate. - In this case, you want to activate the newly created Skill. Select it from the
Skill namedropdown. - Under
Interrupt mode, selectqueue. - Add an
Event description. This field is optional but will help in the future when identifying the purpose of an Event from a complex Flow containing multiple Event subscriptions.
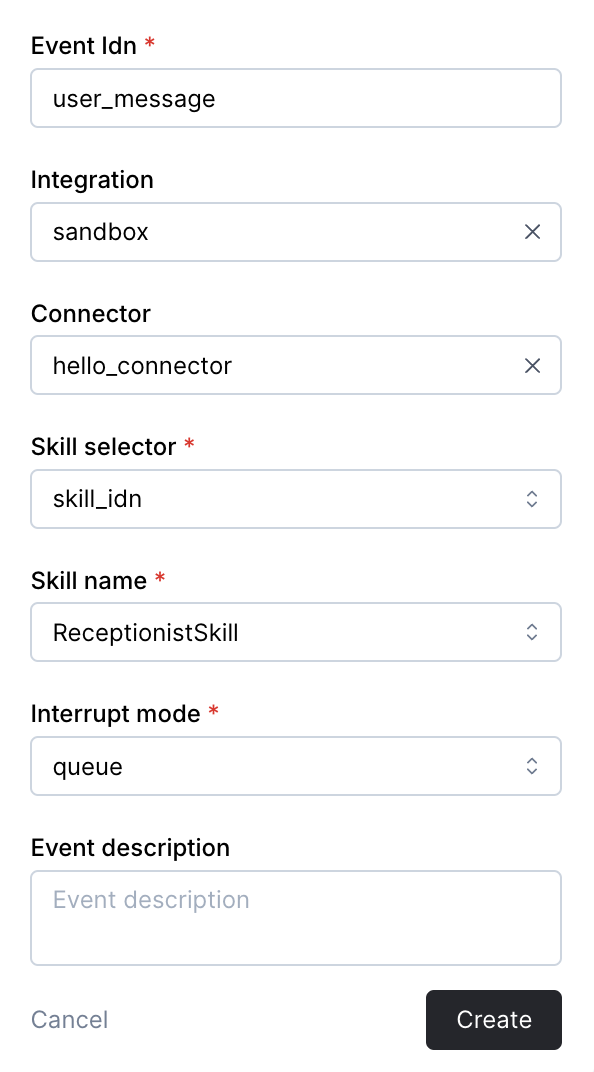
- Click Create to save the Event.
Add a User
- Click the Open Sandbox button at the top-right corner of the Flow Builder to open the Sandbox chat panel. Ensure the correct Agent persona is selected from the dropdown (i.e, Dillian).
- Click the plus icon next to the
Usersection. - Add a
Name. In this case, this is the name of a user who will be talking to the Agent, which can be your name or a made-up name for testing purposes. - Ensure the
Create actorcheckbox has been selected. An Actor is someone who communicates through a specific connector. For example, a specific user could communicate via the Sandbox chat (Sandbox chat connector) and over the phone (Vapi connector), which each have identifiers of separate Actors. In this case, we are going to create a single Actor for Sandbox chat communications. - Under the
Actor settings, selectsandboxfor theIntegrationandhello_connectorfor theConnector.
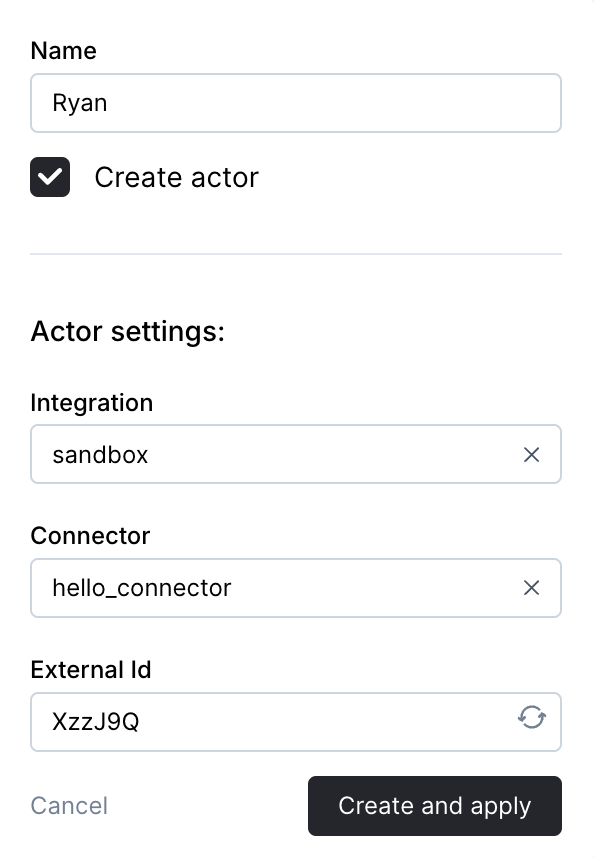
- Click Create and apply to save the user.
Test Functionality and View Results
- Click Save and Publish in the top-right corner of the Flow Builder.
- Type anything in the Sandbox chat field, and click the send icon. The response should be "Hello World."
Updated 10 months ago