
Newo Chat Integration (Live Agent)
Unlike the Talking Head integration, which also includes a text-only option, the Newo Chat integration is only text. This integration enables a Digital Employee to communicate through web chat. The below steps highlight the process for publishing the Newo Chat on a website. If you're looking to demo an Agent on a website, go here.
Enable the Newo Chat Connector
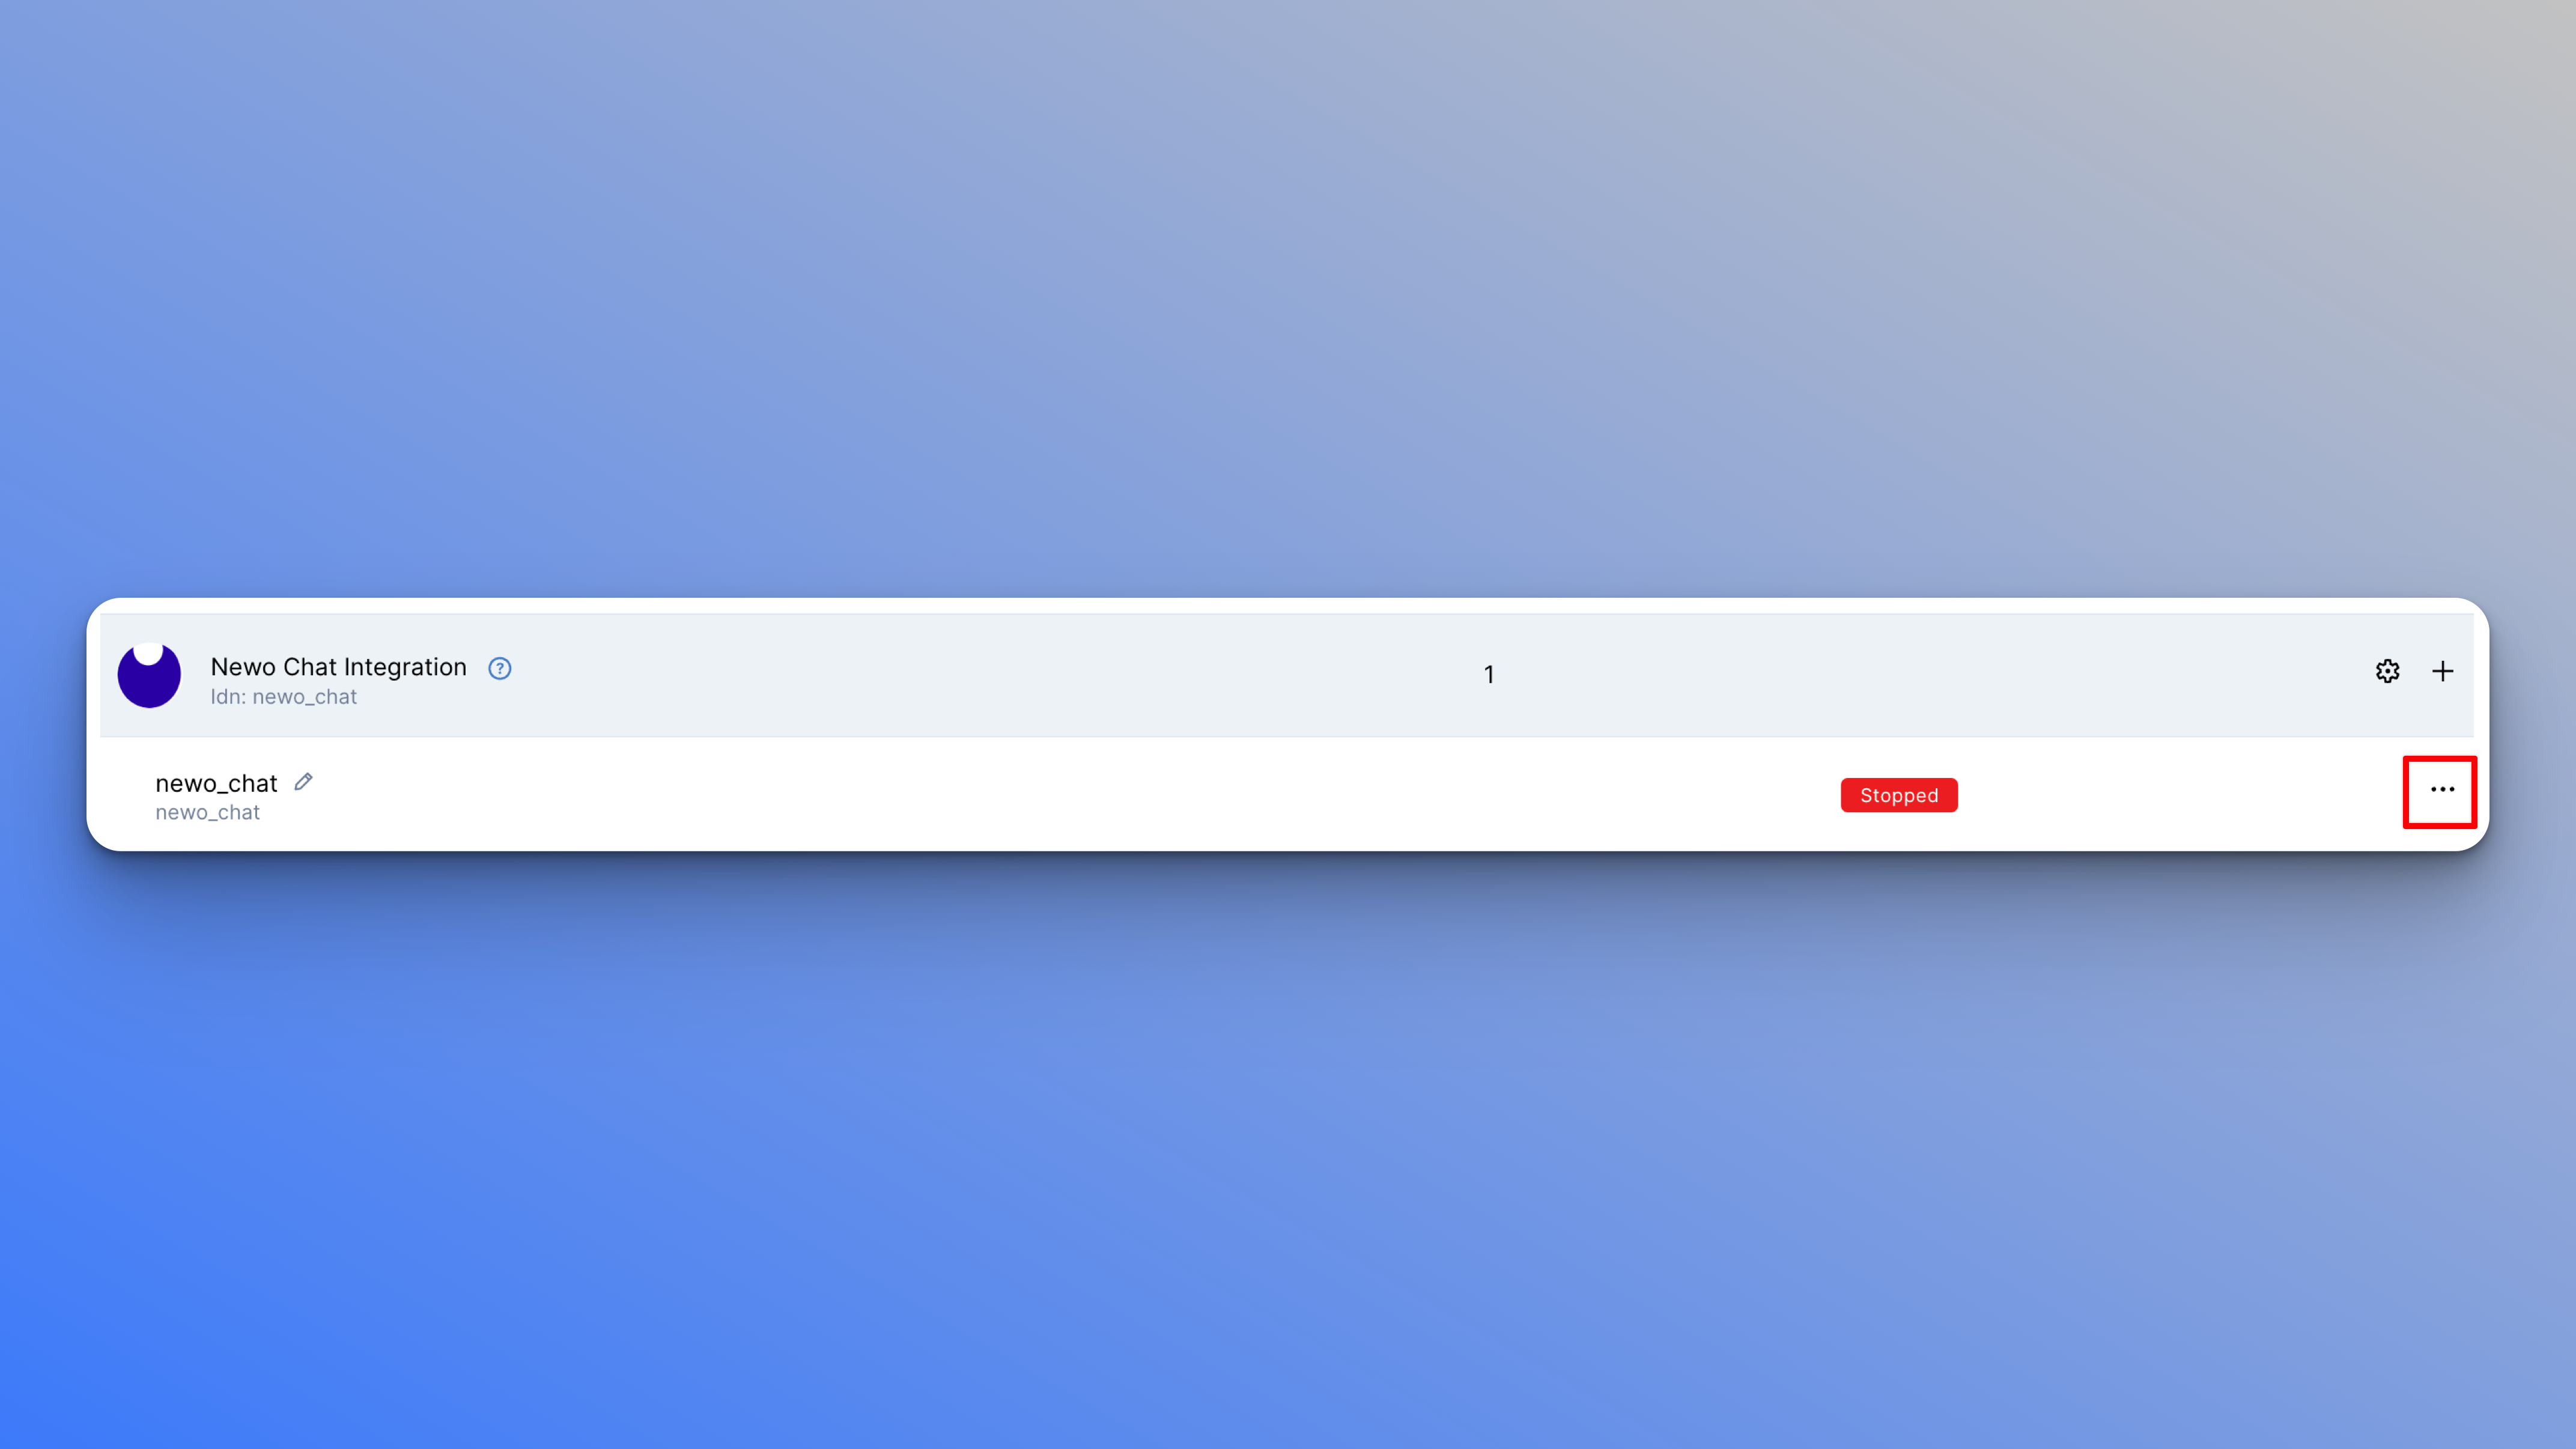
The connector should automatically be running. If not, and you see the status as Stopped, you will need to enable it.
- Navigate to the Integrations page from the left-side panel.
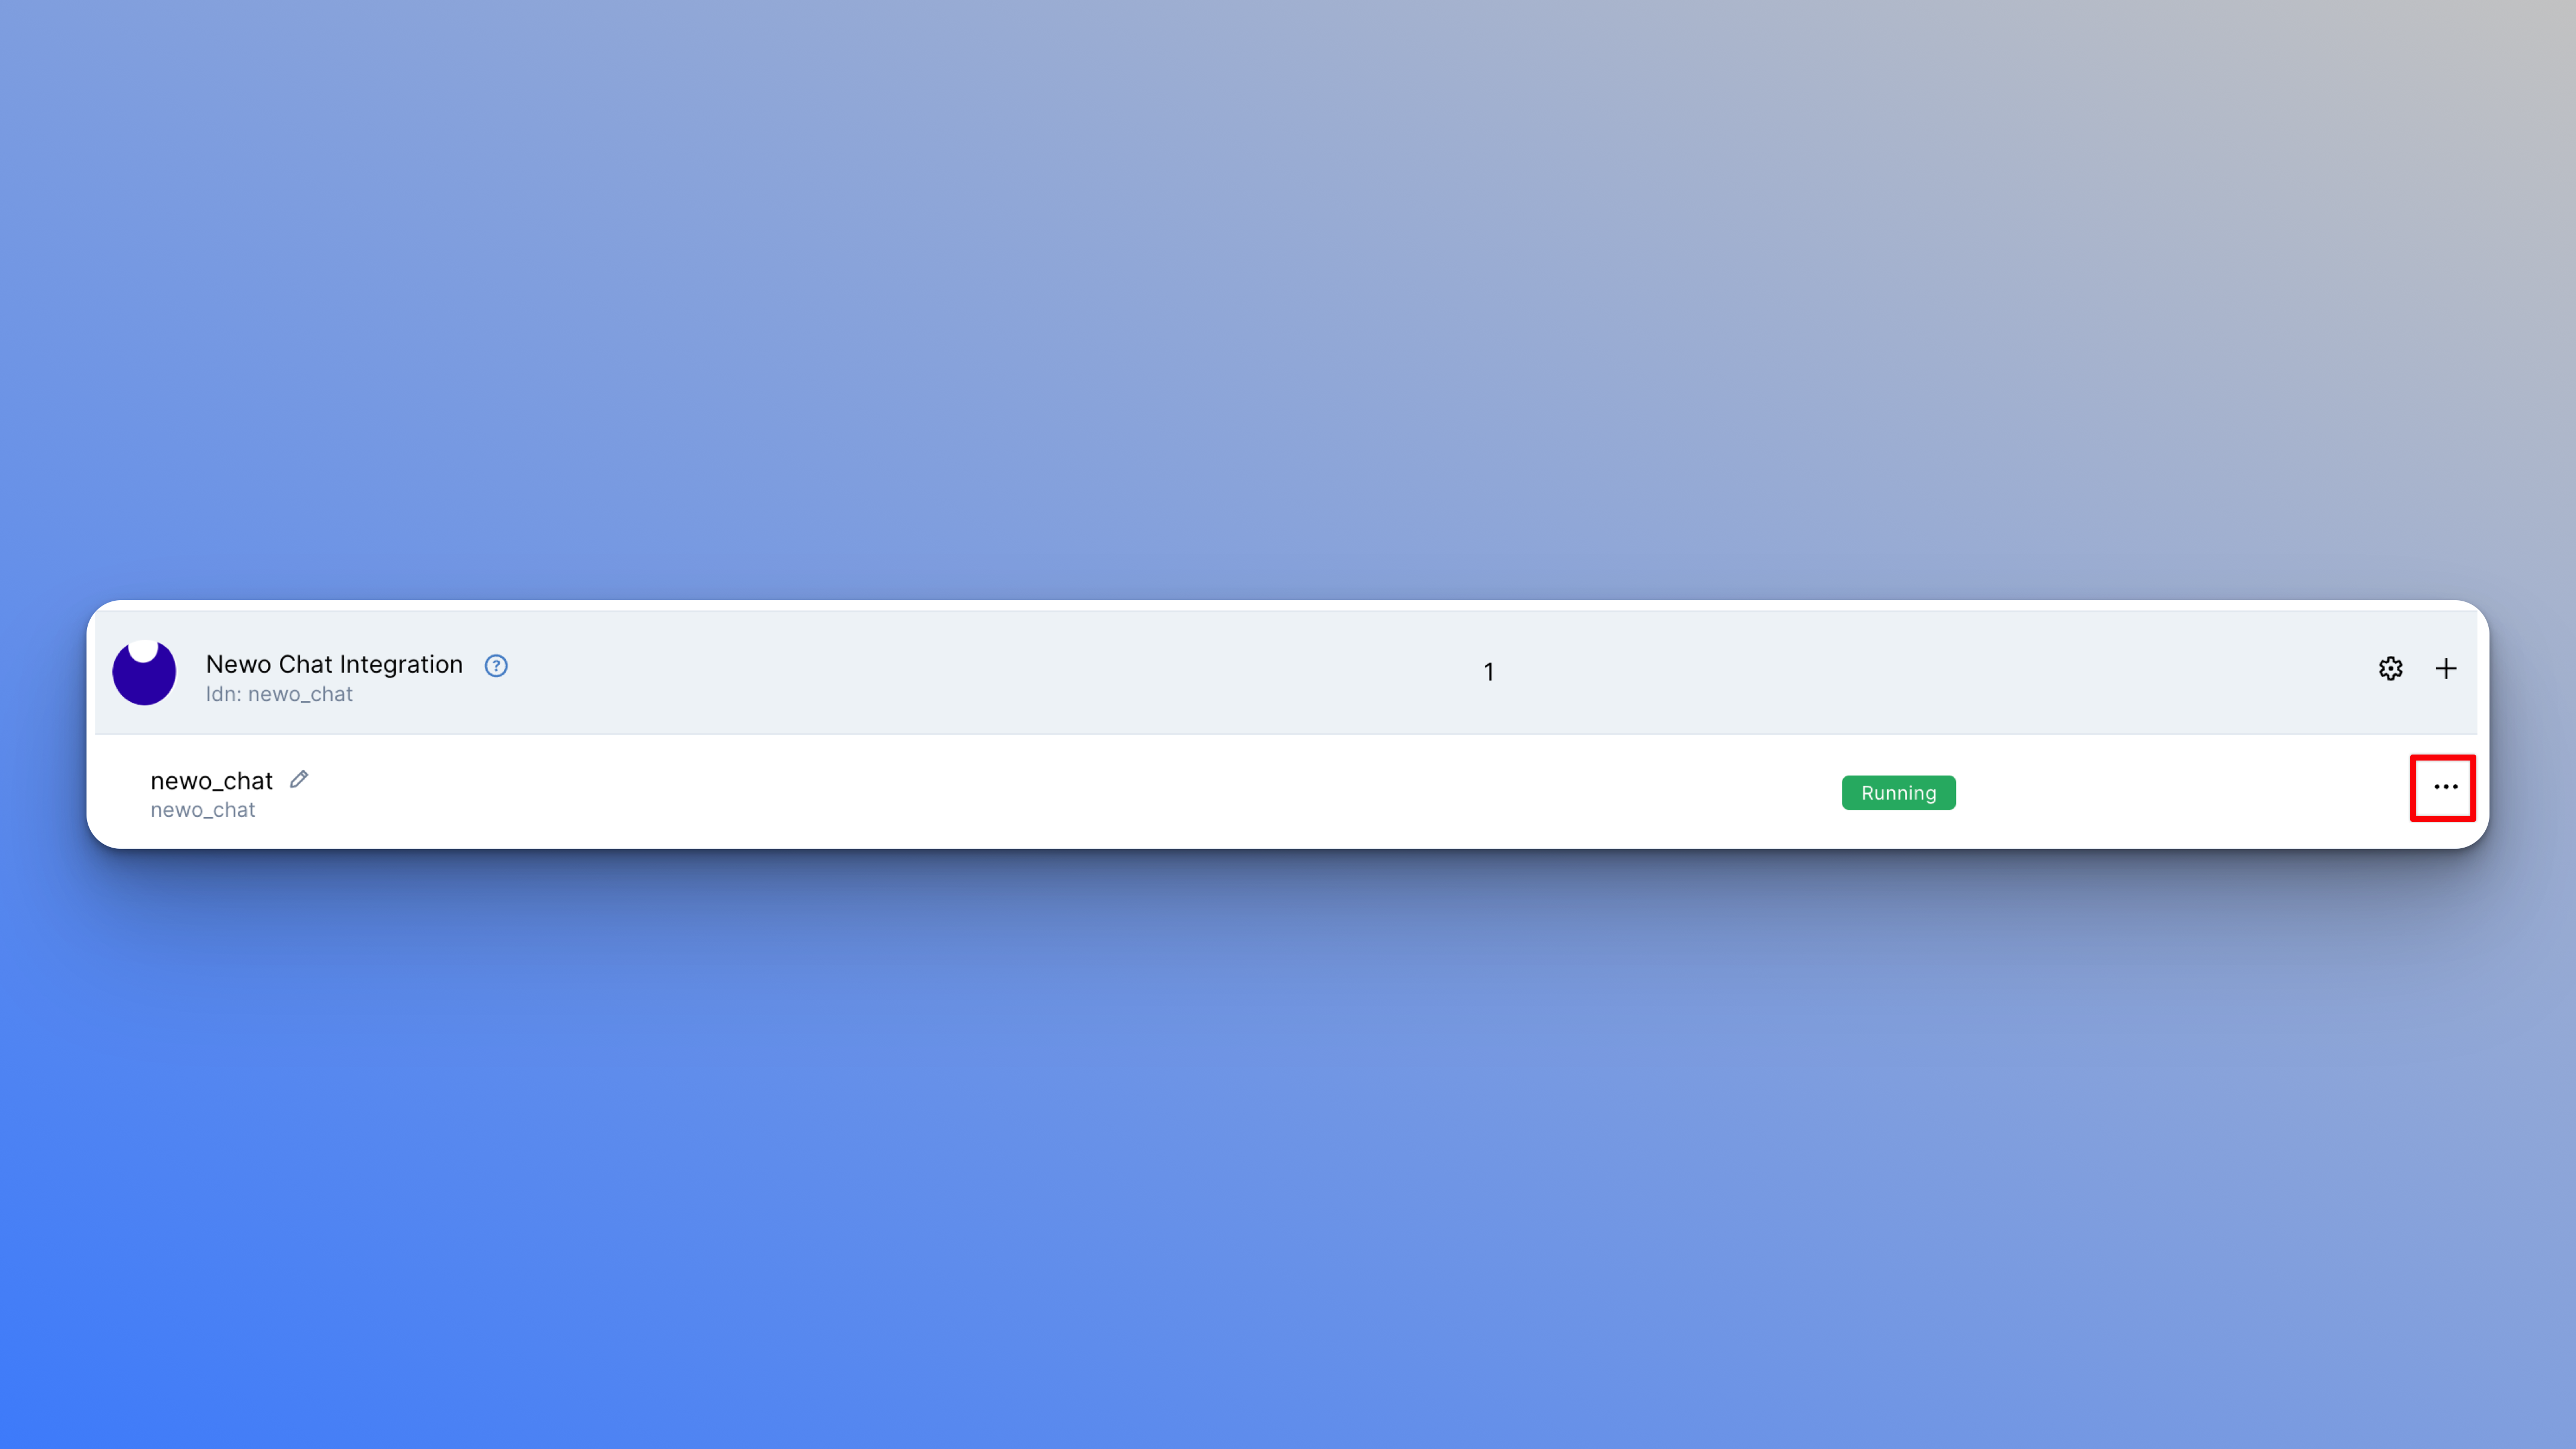
- Click the three dots icon on the right of the
newo_chatconnector.
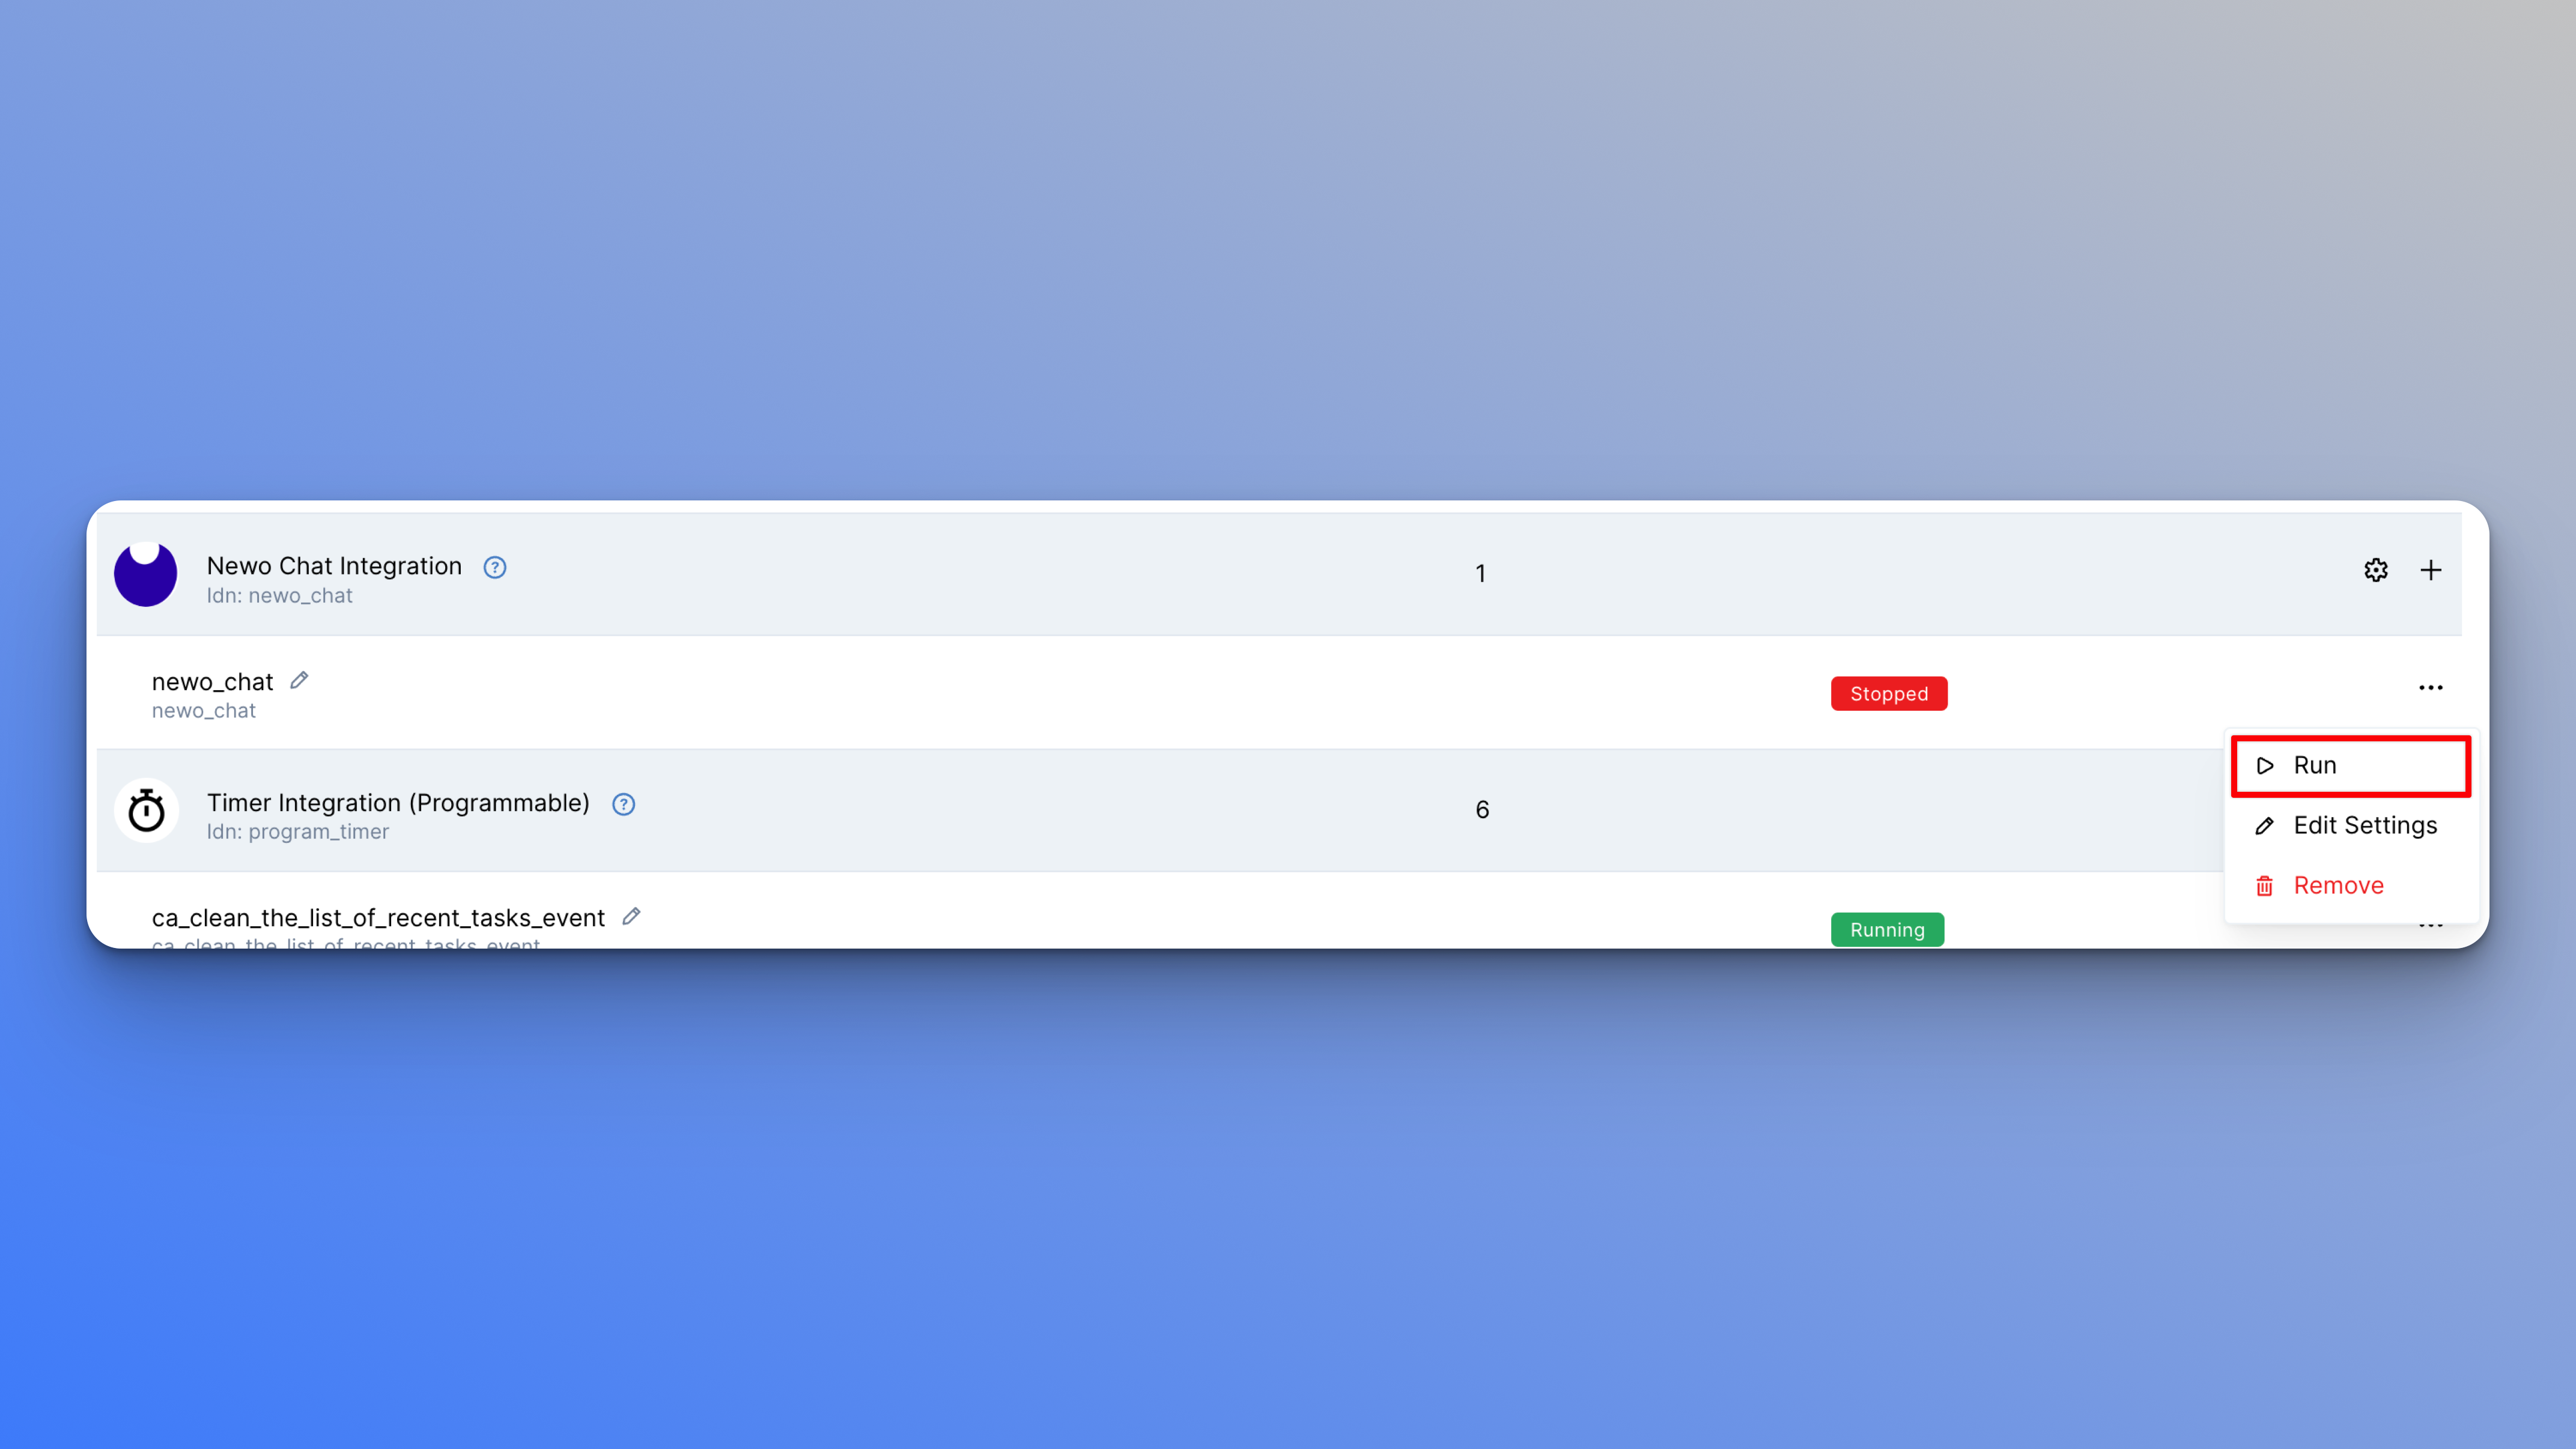
- Click Run. The status will change to
Running.
Newo Chat Settings
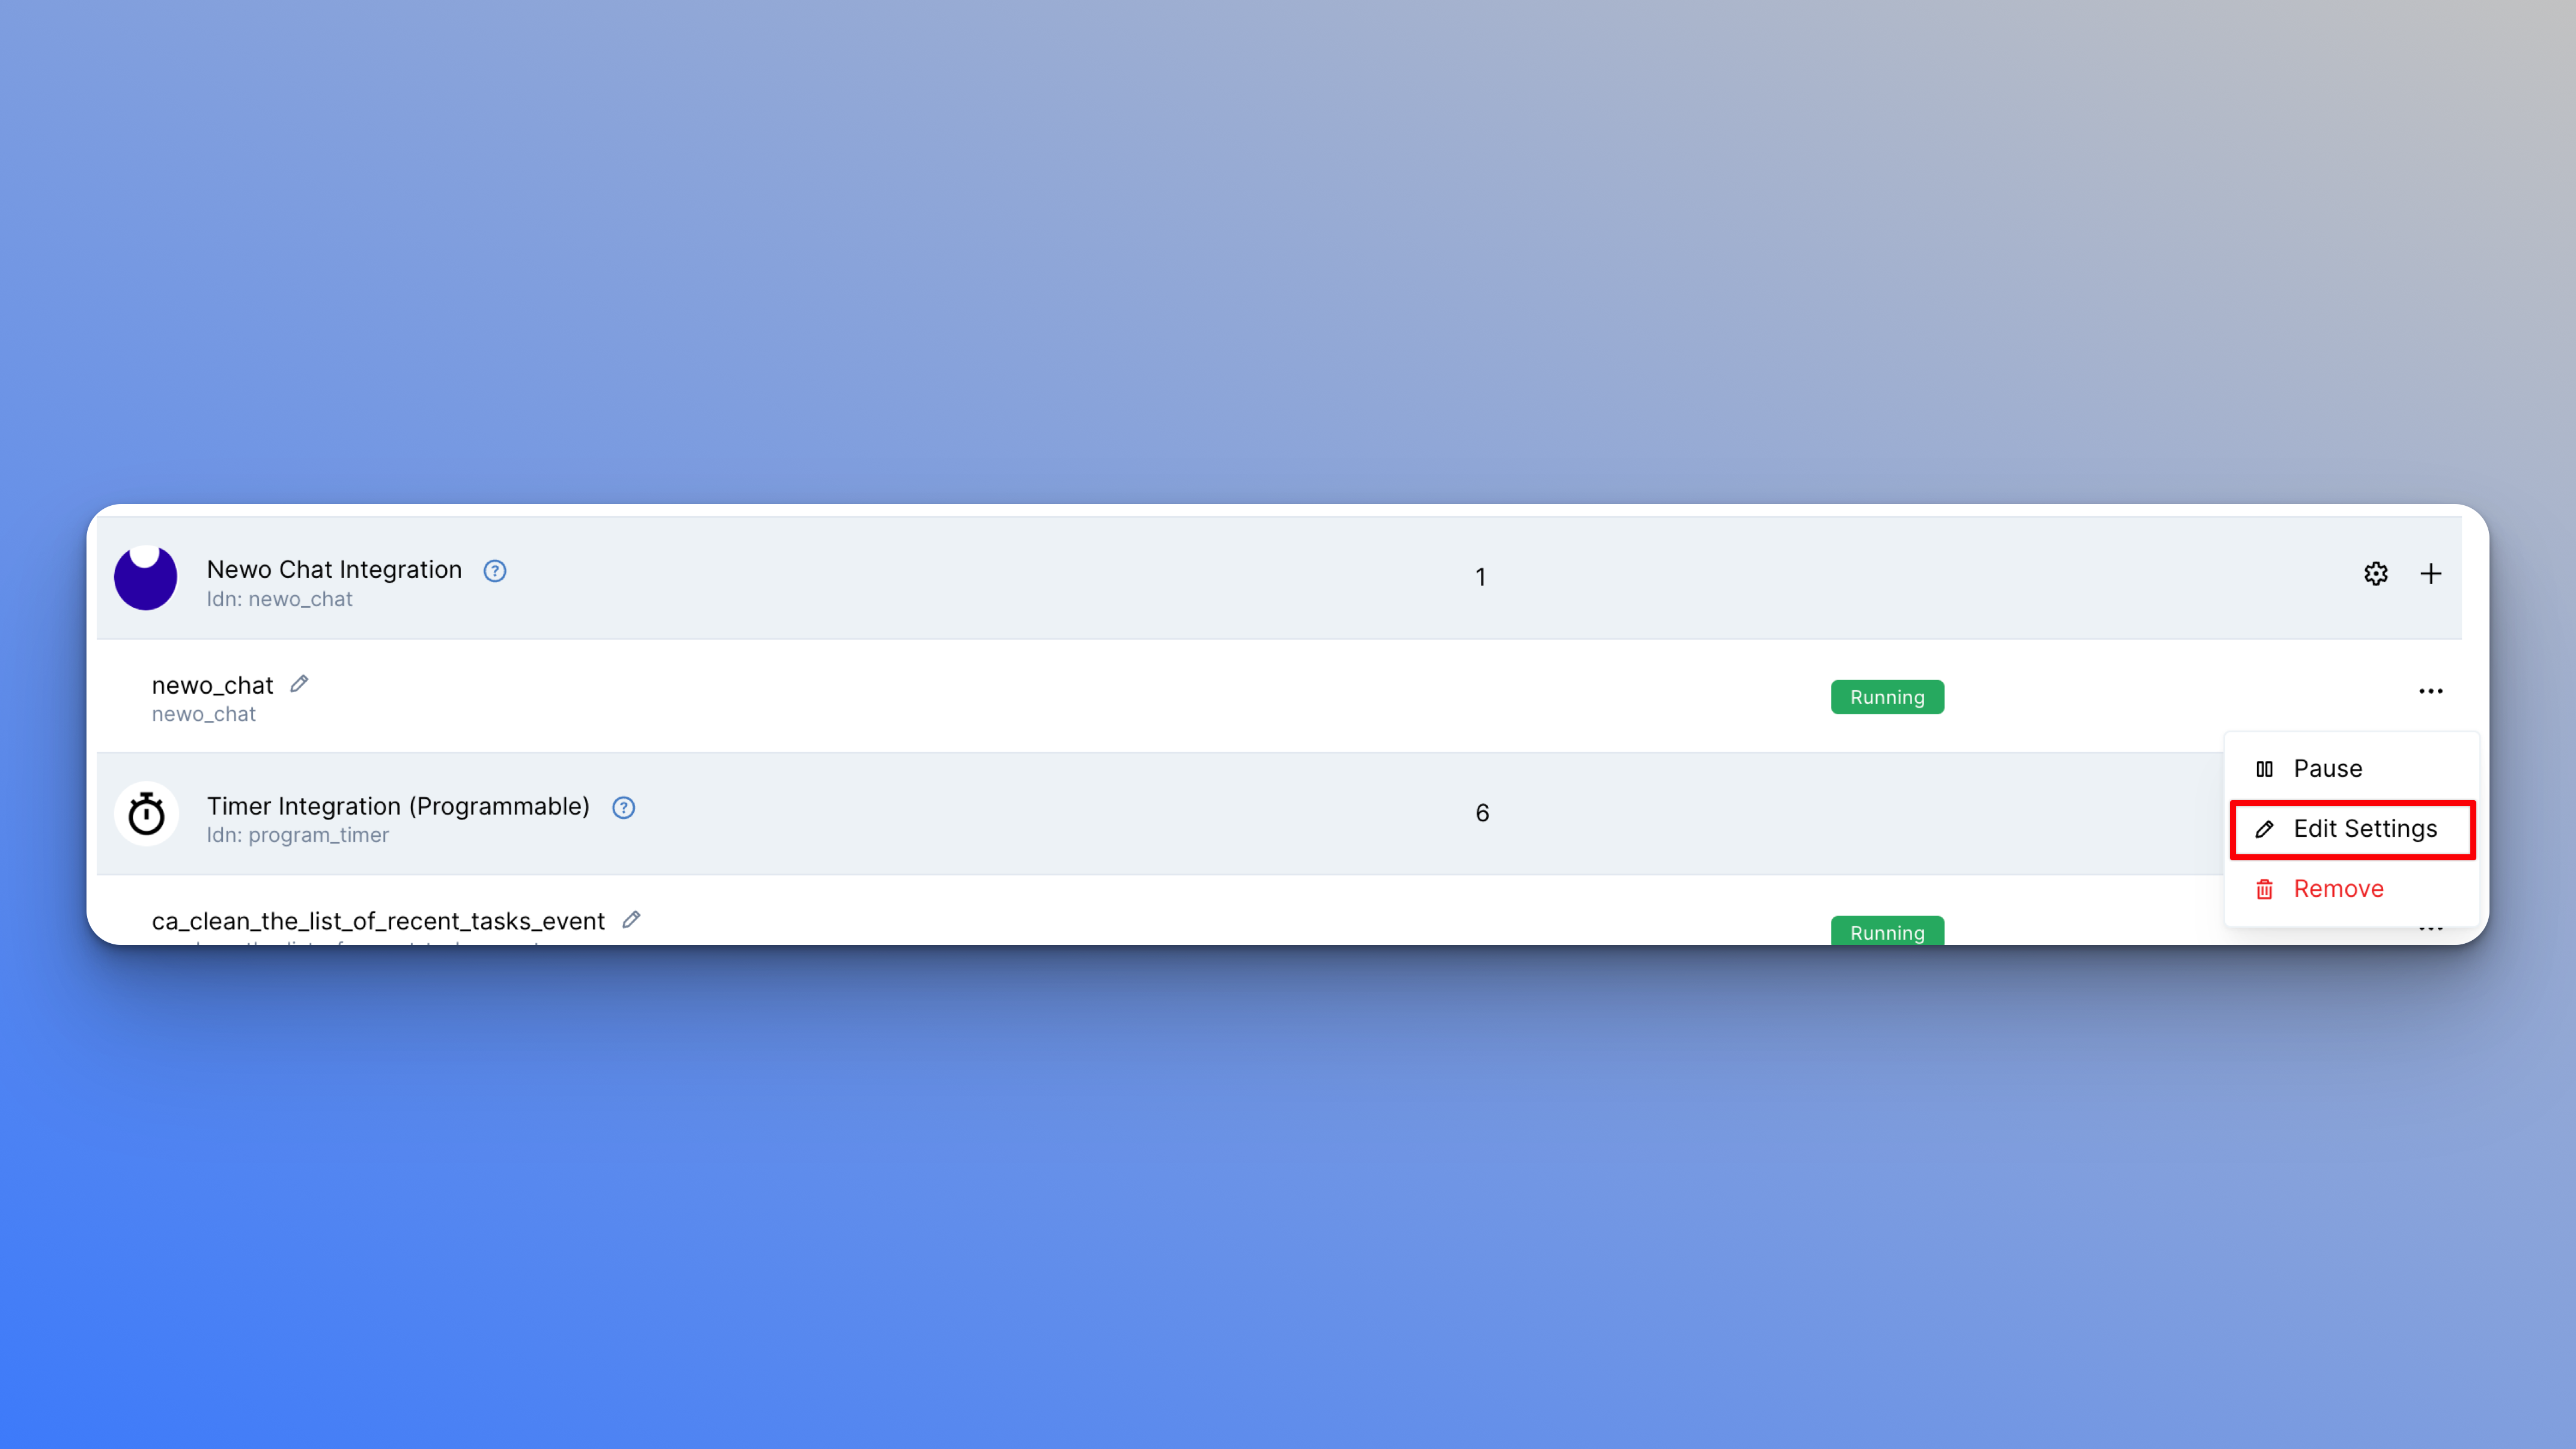
In most cases, you will have created an agent using the Agent Creator. As a result, there should be newo_chat connector available. Click the three dots icon next to it and click Edit Settings. The following settings can be changed:
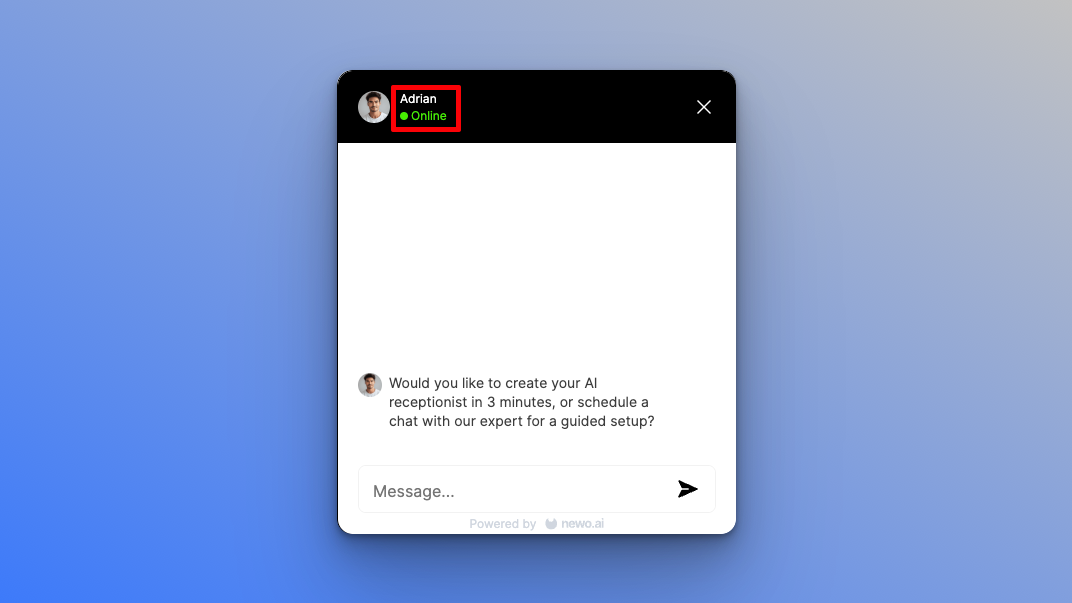
Agent Name: Displayed at the top of the web chat window.
Agent Picture URL: Leave it empty for the default picture. This picture is used to identify the Digital Employee the user is communicating with. Ensure you use a publicly available URL.Auto Open After: Determines when/if the Newo Chat will open. Enter either:- -1 = will never open.
- 0 = will open immediately on page load.
- 0 >= will open after
Nseconds. For example, adding3would open the Newo Chat after 3 seconds.
Bubble Text: The bubble text is shown before opening the Newo Chat.

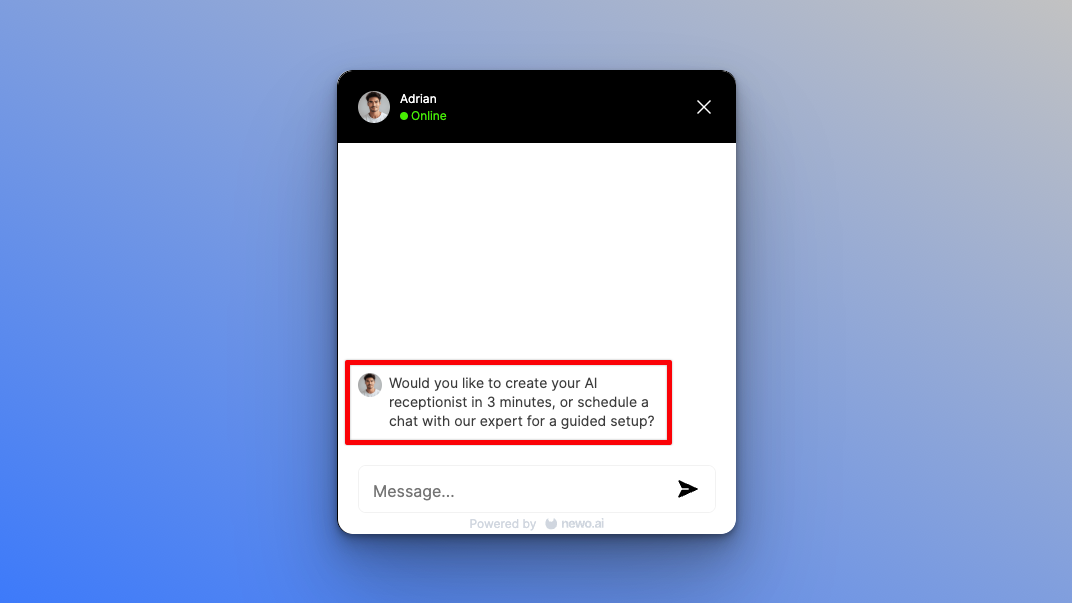
Client Secret: Generated automatically after running the connector. It is used within the Widget Script to authenticate the Newo Chat widget.Client Website Base URL: Enter the base domain of the website where you will be adding the Newo Chat. For example: https://www.mysite.com. Ensure you includehttps://in your URL.Color: Enter a color in HEX (e.g., #FFFFFF), which will be the color of the Newo Chat icon on your website. Change the color to match your brand.Greeting Phrase: The phrase used to welcome the user. For example, "Hello, what can I assist you with today?"
Icon Position X: You can use this setting to shift the icon by a certain number of pixels on the X-axis (horizontally) relative to the bottom-right corner of the screen.Icon Position Y: You can use this setting to shift the icon by a certain number of pixels on the Y-axis (vertically) relative to the bottom-right corner of the screen.Show-case Status: Ensure this is disabled. This setting should only be enabled when demoing the agent on a website.Widget Script: Generated automatically after running the connector. You will use this script to add the Newo Chat to your website.
Ensure you click Save after making any changes to the above settings.
Going Live! Add Code to a Website
- Click the three dots icon on the right of the created connector.
- Click Edit Settings.
- If you previously demoed the Agent, ensure your
Client Website Base URLis set back to just the URL of the website. For example,https://example.com. There is no need to replace the.with-in this case. - Copy the generated
Widget Scriptto your clipboard and add it to your website's HTML code right before the end of the body tag (i.e., footer section). Example:<body> ... [add widget script here]</body> - Ensure you Save the updated connector.
- Publish your website and ensure the Newo Chat icon appears at the bottom-right corner of your website.
Updated 6 days ago